Note: This process is optional and is only required for users who want to trade their $WNT on DEXs like UniSwap or want to stake their $WNT on the Wicrypt native staking protocol.
The initial liquidity pool on Uniswap will support $WNT on the Arbitrum chain for now.
There will be a bridge fee of 1.5% for every bridge transaction of $WNT token to the Artibrum chain.
Let’s walk through the steps for bridging to the Arbitrum chain:
Step 1: Visit https://bridge.wicrypt.com/

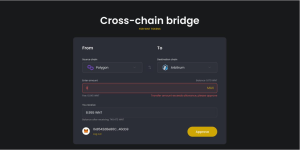
Step 2: Select “Polygon” as your source chain from the drop-down options. Then select “Arbitrum” as your destination chain. Once you’ve selected your source chain, click on “Connect Wallet”

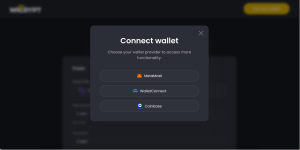
Step 3: Choose your preferred wallet. Please note that a Metamask wallet was used for this example.
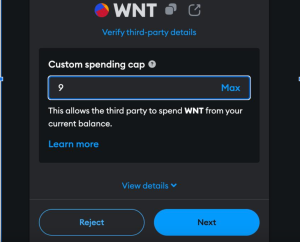
Step 4: Input how much $WNT you want to bridge and click on “Approve”.
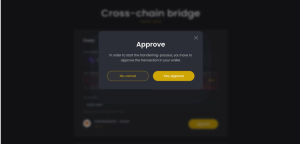
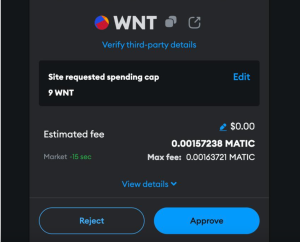
Step 5: You’ll see a pop-up notification asking you if you want to approve. Click on “Yes, Approve.”
Step 6: Sign the transaction on your (Metamask) wallet. Wait for the transaction to complete.
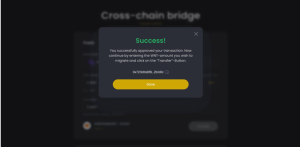
Step 7: You’ll see the “Transaction Confirmed” notification. Click on “Done”. You have successfully bridged your $WNT to the Arbitrum chain.
Step 8: Select the amount $WNT to Transfer (Bridge) the token
Step 9: Confirm the Transfer (Bridge) transaction on your (Metamask) wallet
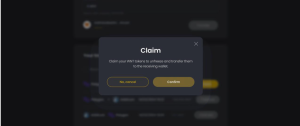
Step 10: Wait for a few minutes for the Transfer (Bridge) transaction to confirm on the blockchain. Claim the Transferred (Bridged) $WNT token into your wallet address by clicking the “Claim” button under the “Your Transaction History” list.

NB: You need to have ‘ETH’ on the ‘Arbitrum One’ chain as the gas fee to claim the transaction.
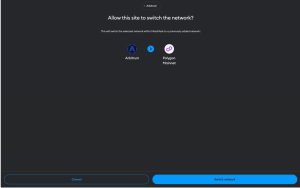
Step 11: Switch your network to Arbitrum and sign the transaction using your (Metamask) wallet.
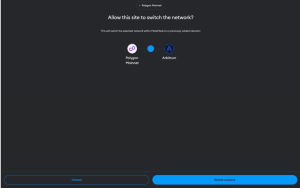
Step 12: Click on “Confirm” on the pop-up dialog
Finally, import the $WNT token on the Arbitrum chain using the contract address for $WNT on Arbitrum. Please see the contract address for $WNT on Arbitrum here: 0xAD4b9c1FbF4923061814dD9d5732EB703FaA53D4
You should see your $WNT on Arbitrum in your wallet now. See a video guide with the same process here.